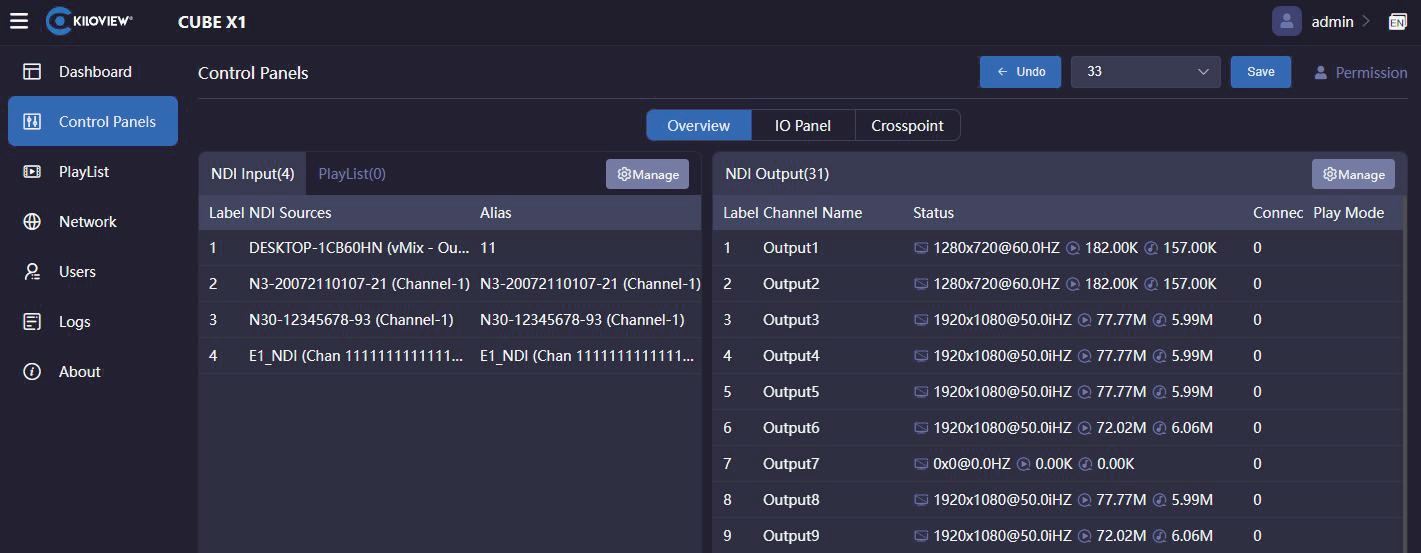
On the left side of the management page, click "Control Panels" to enter the Panel Settings, users can add
and manage NDI input and NDI output.
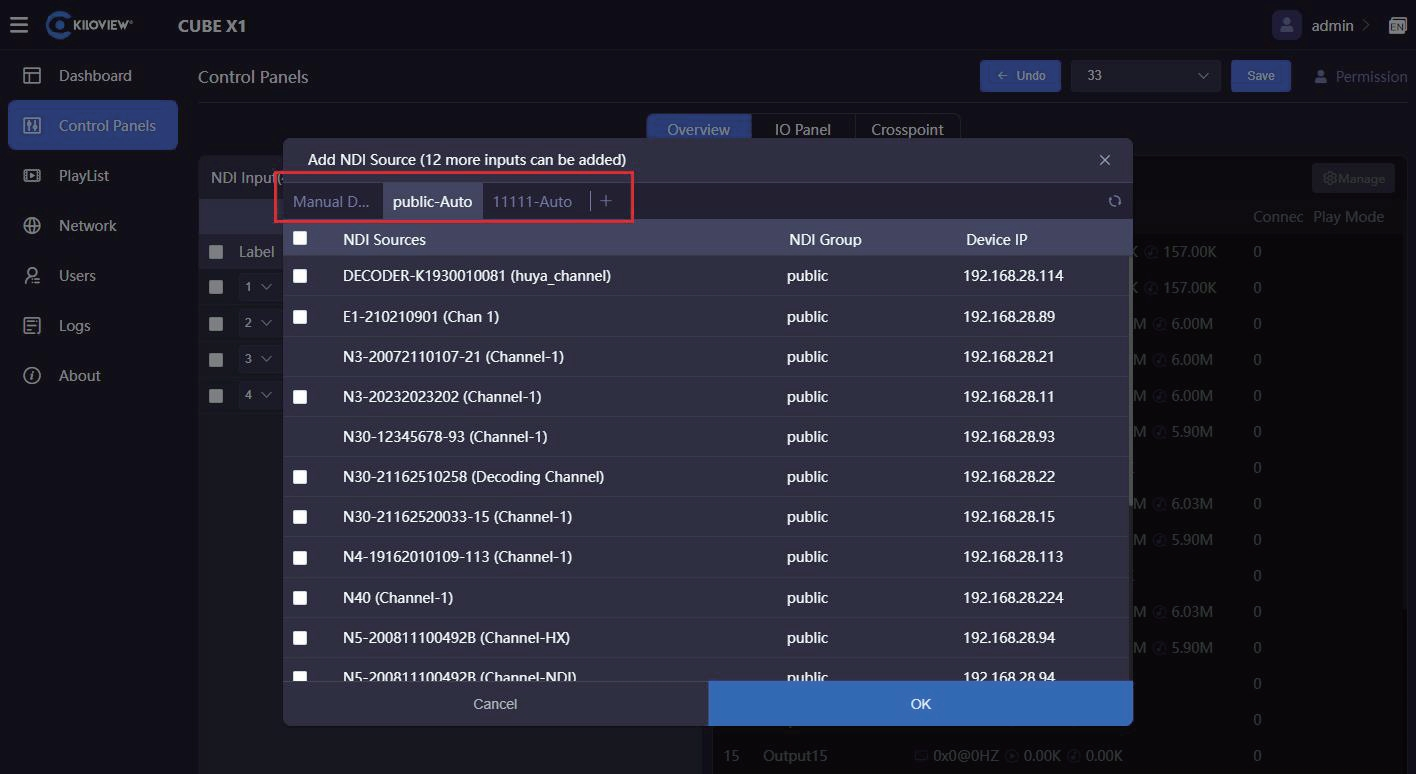
Step 1:Adding NDI Video Sources
After clicking the "Panel" button for NDI inputs in the panel, a dialogue box for adding NDI sources will be
prompted. Only when the sources that are added as NDI input can be controlled by the panel.
By using the "public-auto discovery" it will automatically discover all NDI sources in the local network and
also in public group ("public"). You can select the desired NDI video source to add by choosing from these
automatically discovered sources.
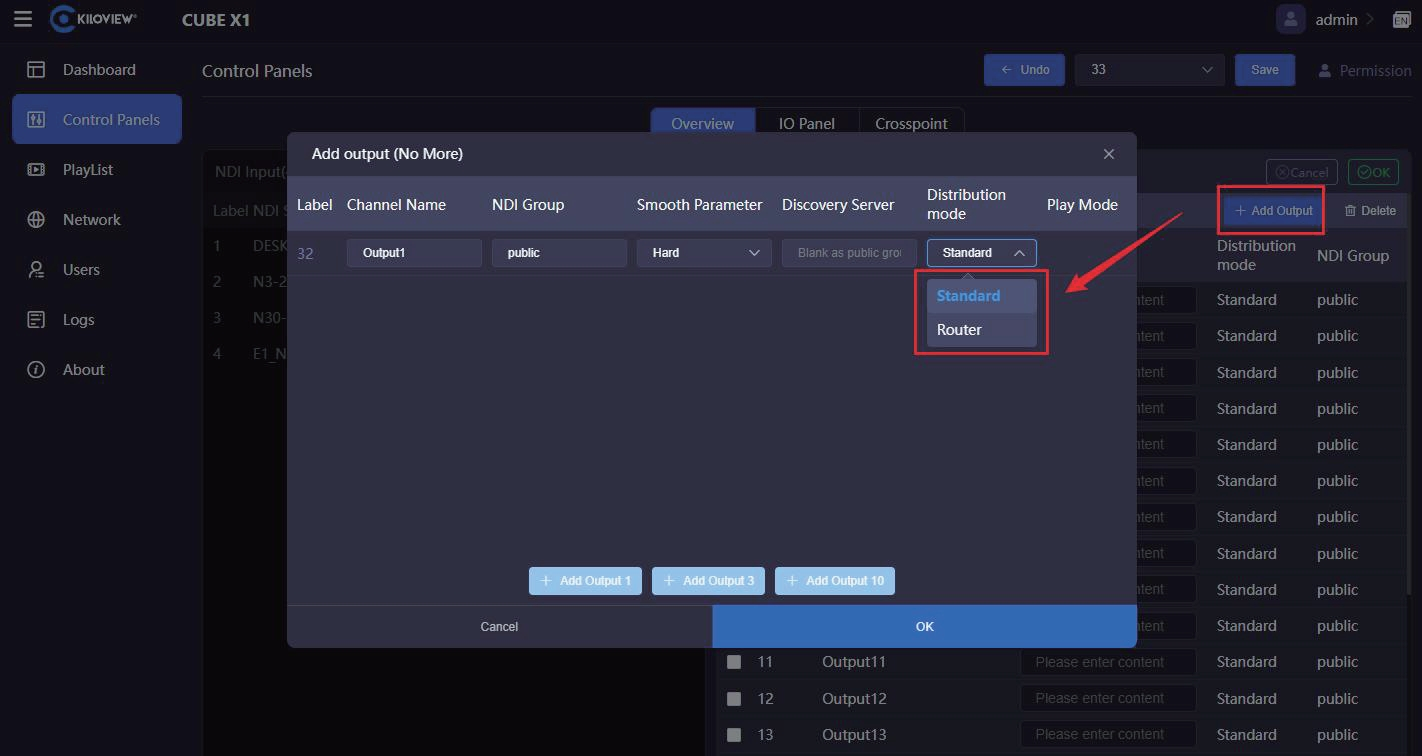
Step 2:Creating NDI Outputs
Users can create NDI virtual outputs and select the output NDI video sources by selecting the NDI input
sources or playlist, and CUBE X1 also supports a single NDI source input, then output with multiple
channels.
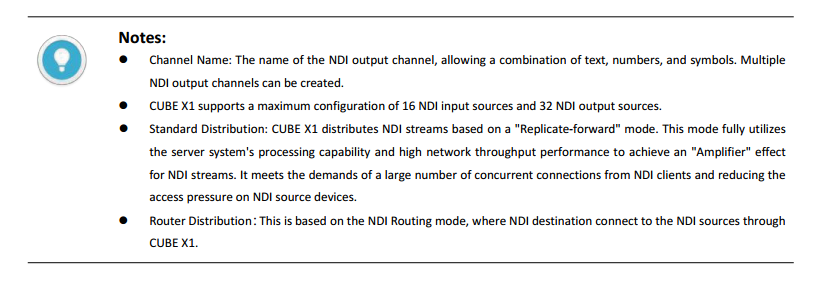
Click on the "Manage" button in the NDI output section to enter the NDI Output Management page. On the
management page, click "Add Output" to create an NDI output channel. When establishing an output,
users can choose different distribution modes, including Standard and Router mode.
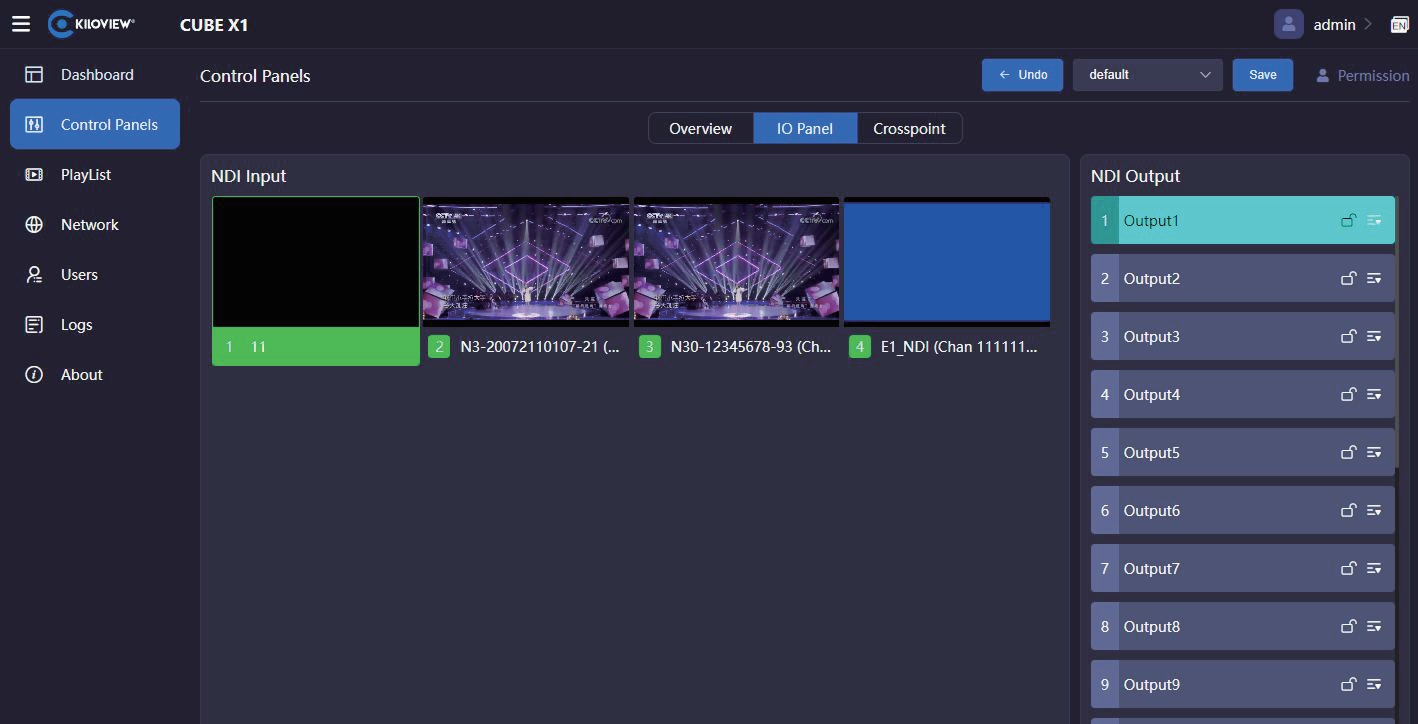
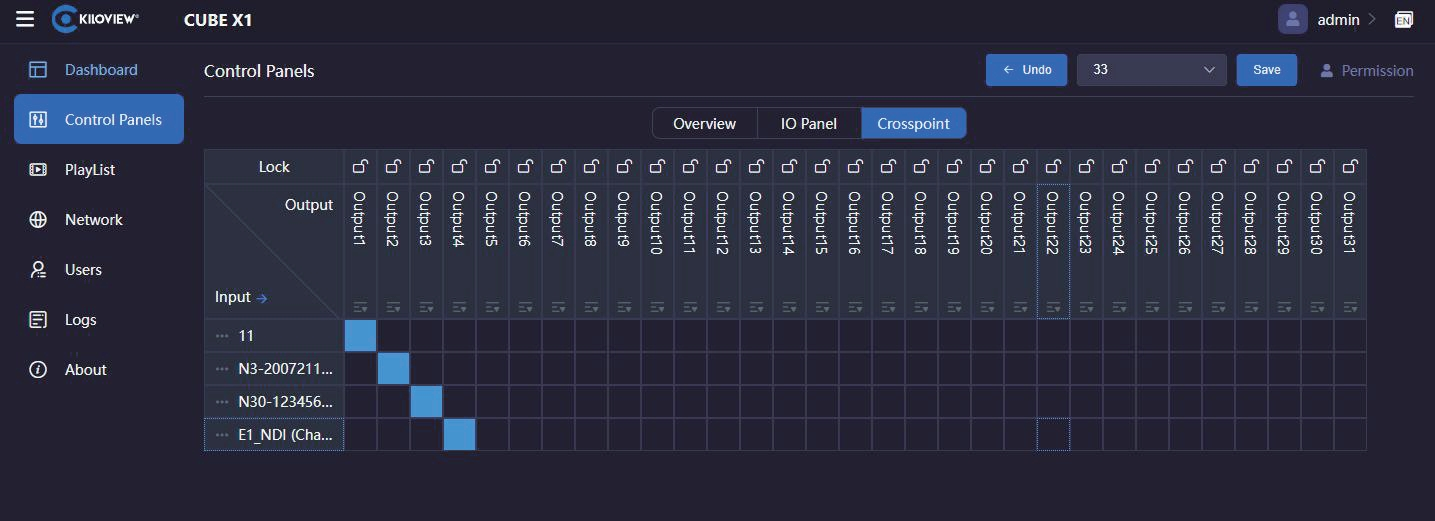
Step 3: Creating Input-Output Matrix
Use the "Cross-point" mode on the panel to create the matrix between NDI inputs and outputs. The blue
block indicates that the corresponding NDI input is outputting from the corresponding NDI output channel.
The "IO Panel" is a different display mode, and all operations have the same effect as the "Cross-point". e.g.:
If you click Output1, you will see the first NDI source being highlighted in green, which indicating that this
NDI video source is being output from Output1. Then if you click another video source, it will immediately
turn green, and it will be seamlessly switched to be output from output1.