

There are 2 methods with two computers installing NDI tools. Besides, VMIX needs to installed with the latest version that supports NDI function.
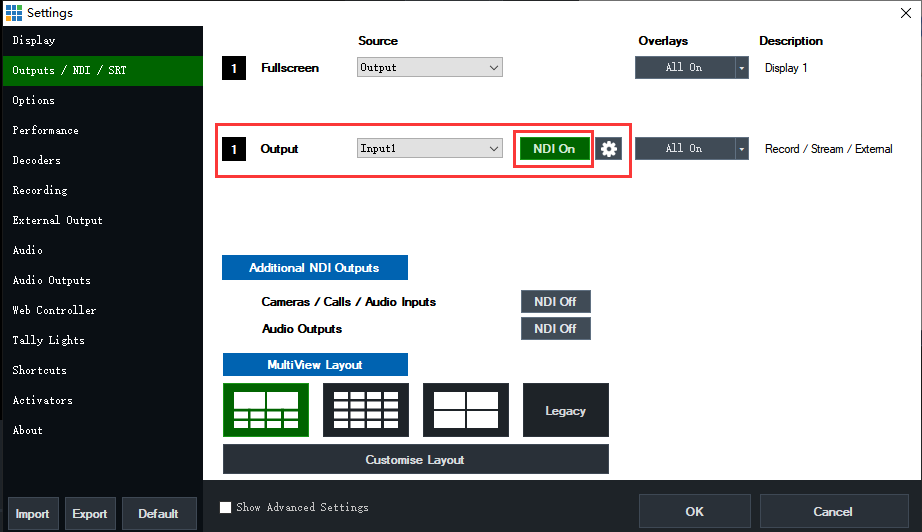
Method 1: Computer B uses VMIX to capture the real-time PPT screen of the computer and output it as an NDI source; import the NDI source of computer B from VMIX of computer A as input. 1. Open VMIX on computer B, click the button external at the bottom of the page to set VMIX as the NDI source output, as shown in the figure below, set NDI to “ON”;
2. Click the button Add input
–More at the bottom of the page to add a video source, as shown in the figure below, click “Local-Desktop-Capture”, select Office as the video source, and then open the office PPT file to play, so that you can import the PPT to VMIX. (If there is no office option in the desktop capture, you can select Display, namely the desktop display. Then minimize VMIX and open PPT full-screen playback)
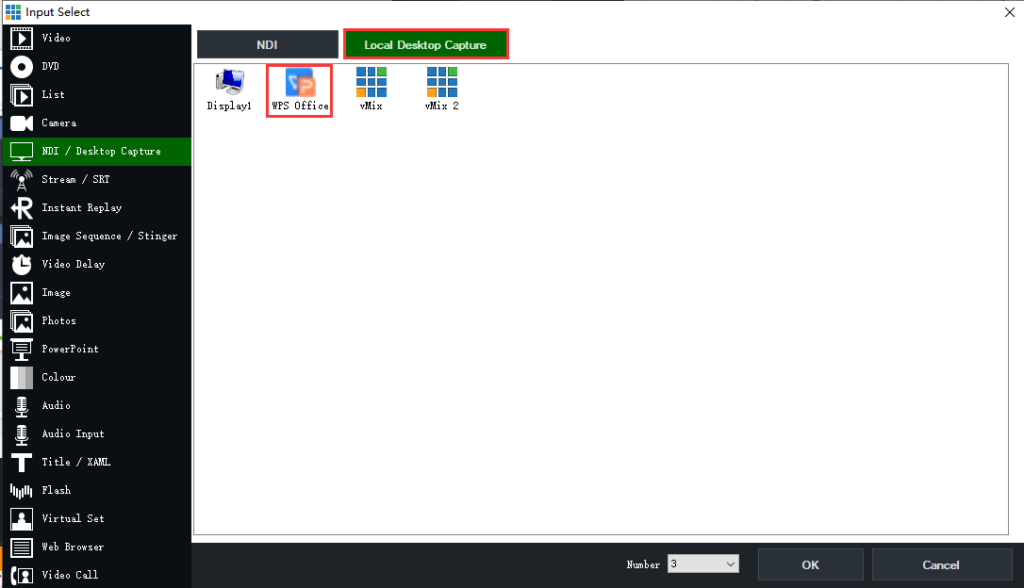
At this point, the PPT file has been imported to VMIX for playback on Computer B and output as an NDI stream.
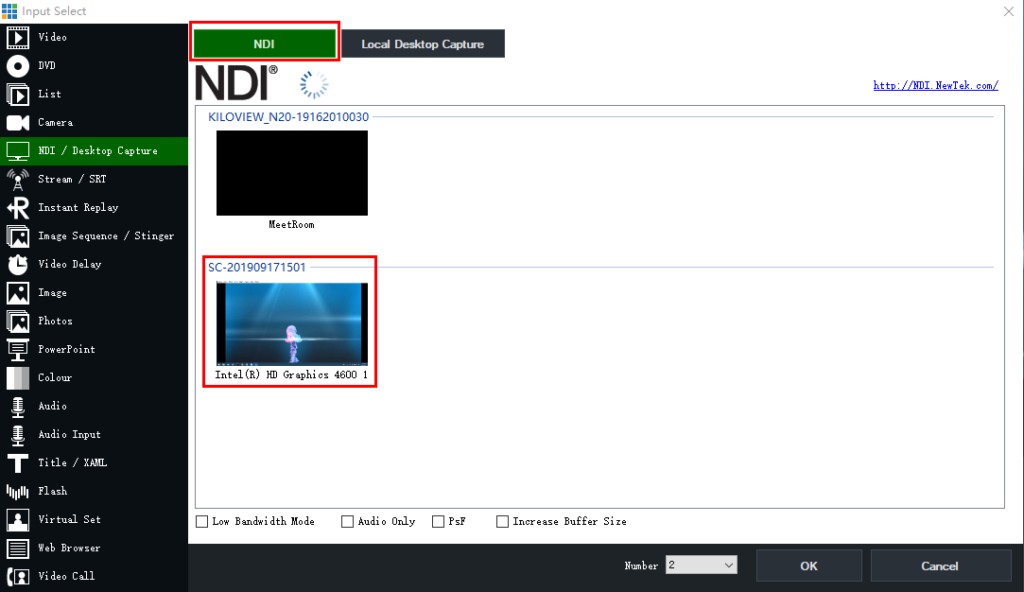
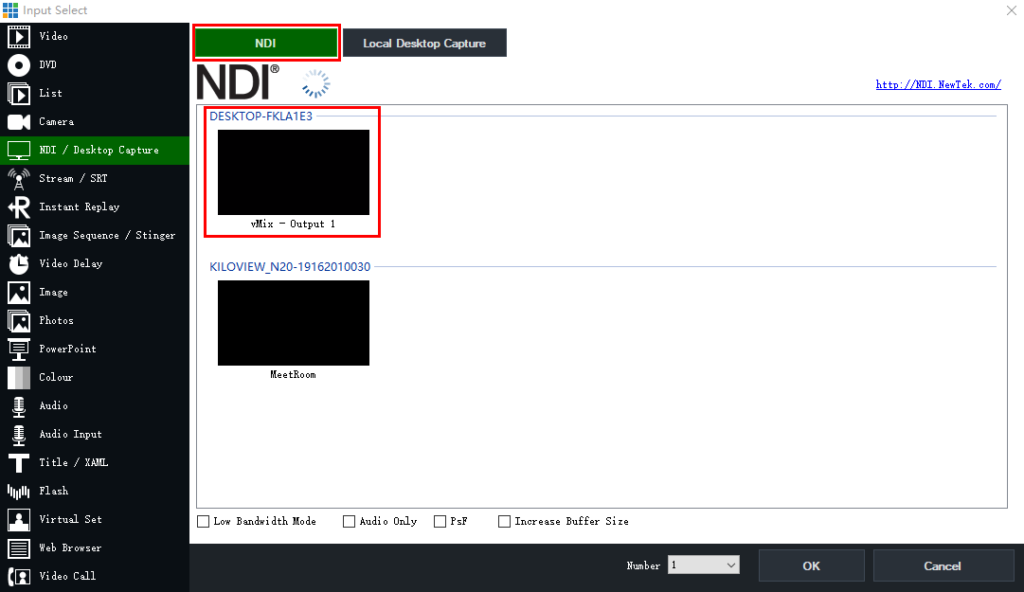
3. Open VMIX on computer A, click the button Add input
–More at the bottom of the page to add a video source, as shown in the figure below, click “NDI“, select the NDI stream of computer B (vMix-Output) as the video source, so you can import the real-time PPT file of computer B into VMIX of computer A.
Method 2: Computer B uses the Scan Converter of the NDI tool to capture the real-time PPT screen of the computer and output it as an NDI source; import the NDI source of computer B as the input from VMIX of computer A.
1. Open the Scan Converter program of the NDI tool on computer B, and then right-click the Scan Converter program in the program list in the lower right corner. At this time, the selection item will pop up. As shown in the right picture below, a range box will pop up – the scope of the box generates the NDI stream. You can extend the range of this box to the entire screen, and then open the PPT to play in full screen.
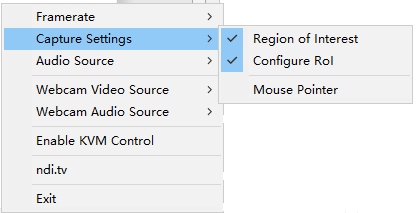
So far, the PPT file has been output as a NDI stream on Computer B.
2. Open VMIX on computer A, click the button Add input –More at the bottom of the page to add a video source as shown in the figure below. Click “NDI”, select the NDI stream of computer B (computer network card model) as the video source, so you can import the real-time PPT file of computer B into the VMIX of computer A.