

1. First ensure you have installed OBS software in a proper way.
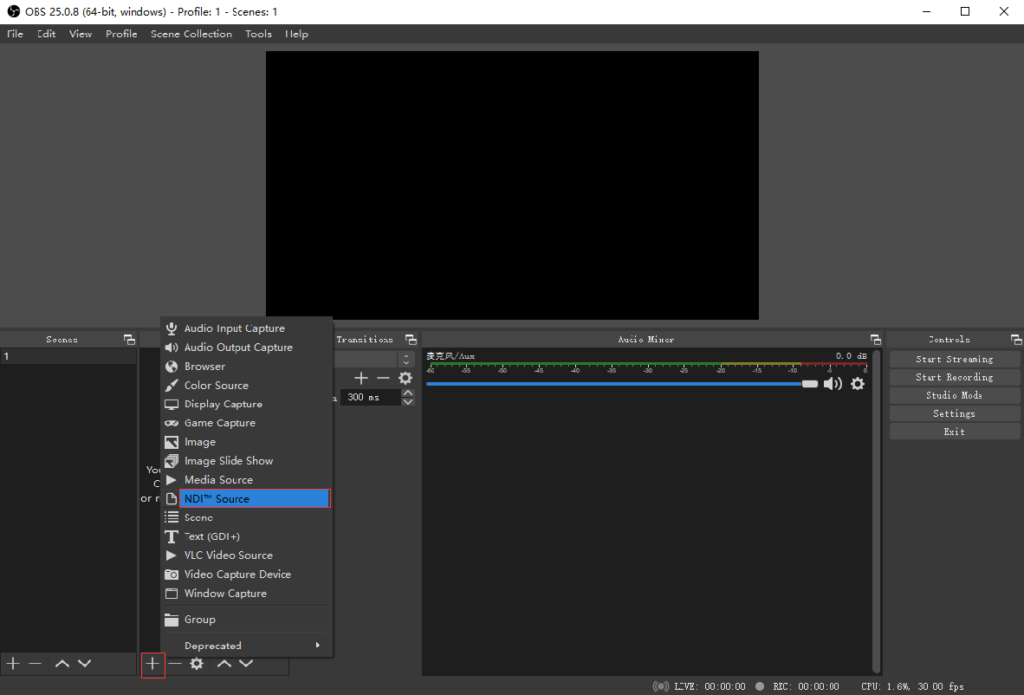
2. Open the OBS software, click in the free area of ”Source” on the right, or click “+” in the lower left corner until the “Add” option pops up to display a list of video sources available for added, such as images, scenes, and media sources Wait. If the item “NDI source” is not displayed, the obs-ndi plug-in needs to be installed.
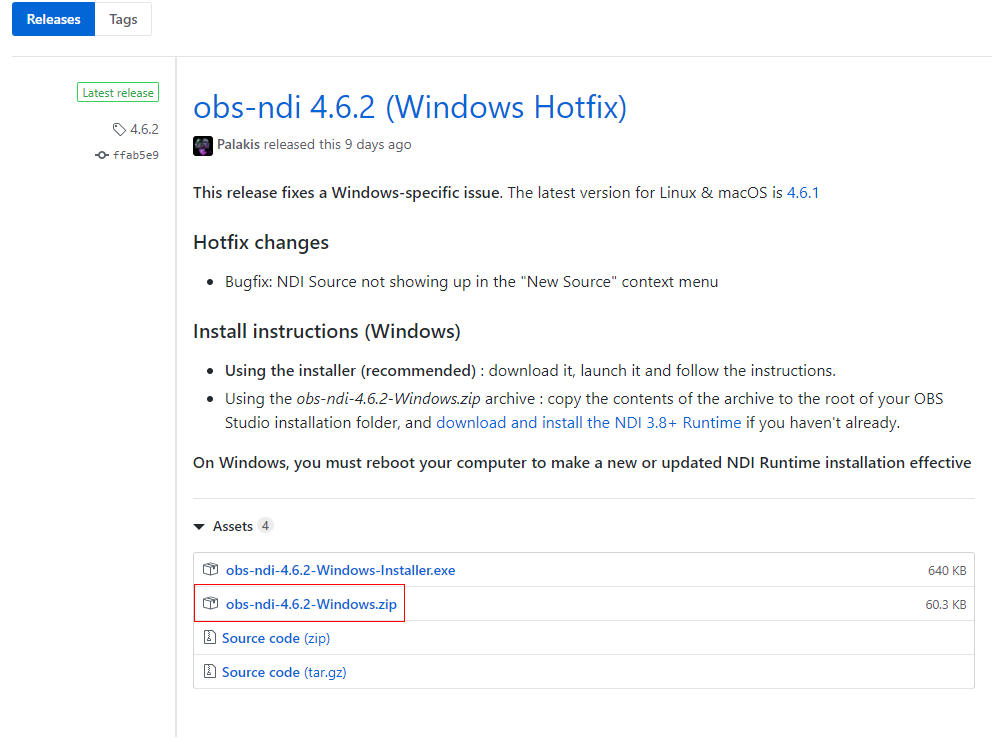
3. Open the website link https://github.com/Palakis/obs-ndi/releases/tag/4.6.2, click the corresponding installation package to download the obs-ndi plug-in to the local, and then install it. After installation, in the “source” you can see “NDI Source” by adding it. (After adding the plug-in, you may need to restart the program or the computer to see if it works).
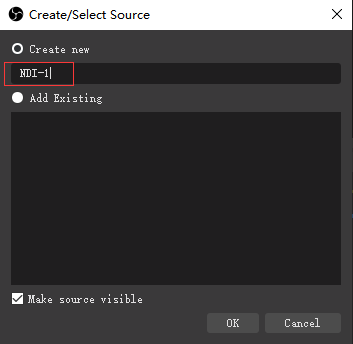
4. Click “NDI Source”, set the name for the newly created NDI source, and thenclick “OK”.
5. In the pop-up “Properties” dialog box, click the drop-down arrow to the right of “Source Name” to display the NDI videos available to be found. Select a video source you want to add, set other parameters as default, and then click “OK” .

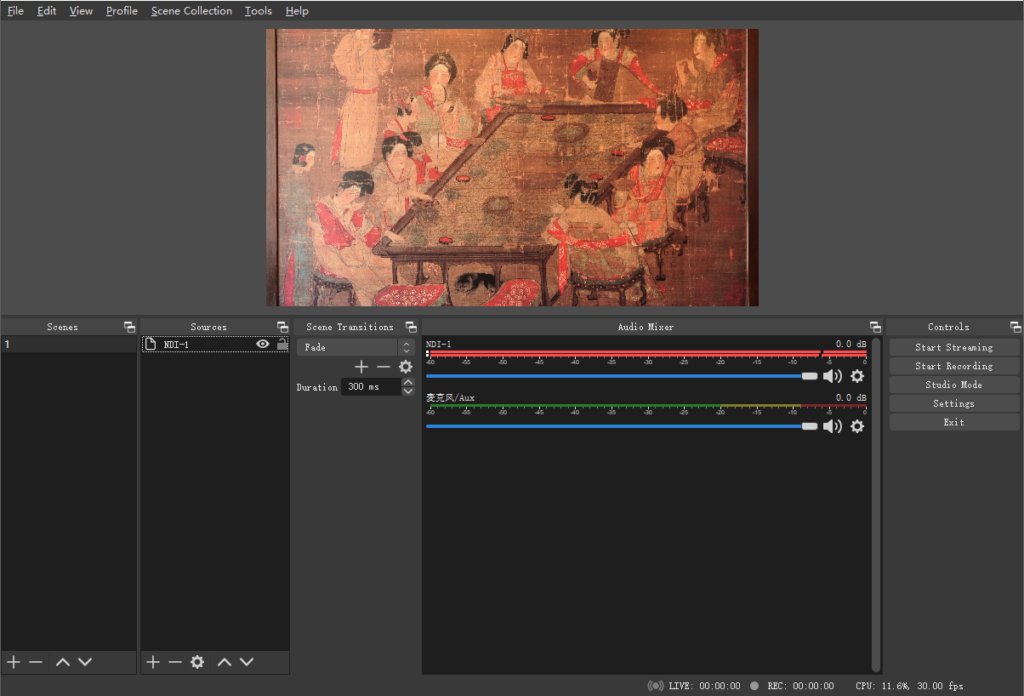
6. The NDI source will be added to the “Source” area and played in real time in the “Preview” area.